728x90
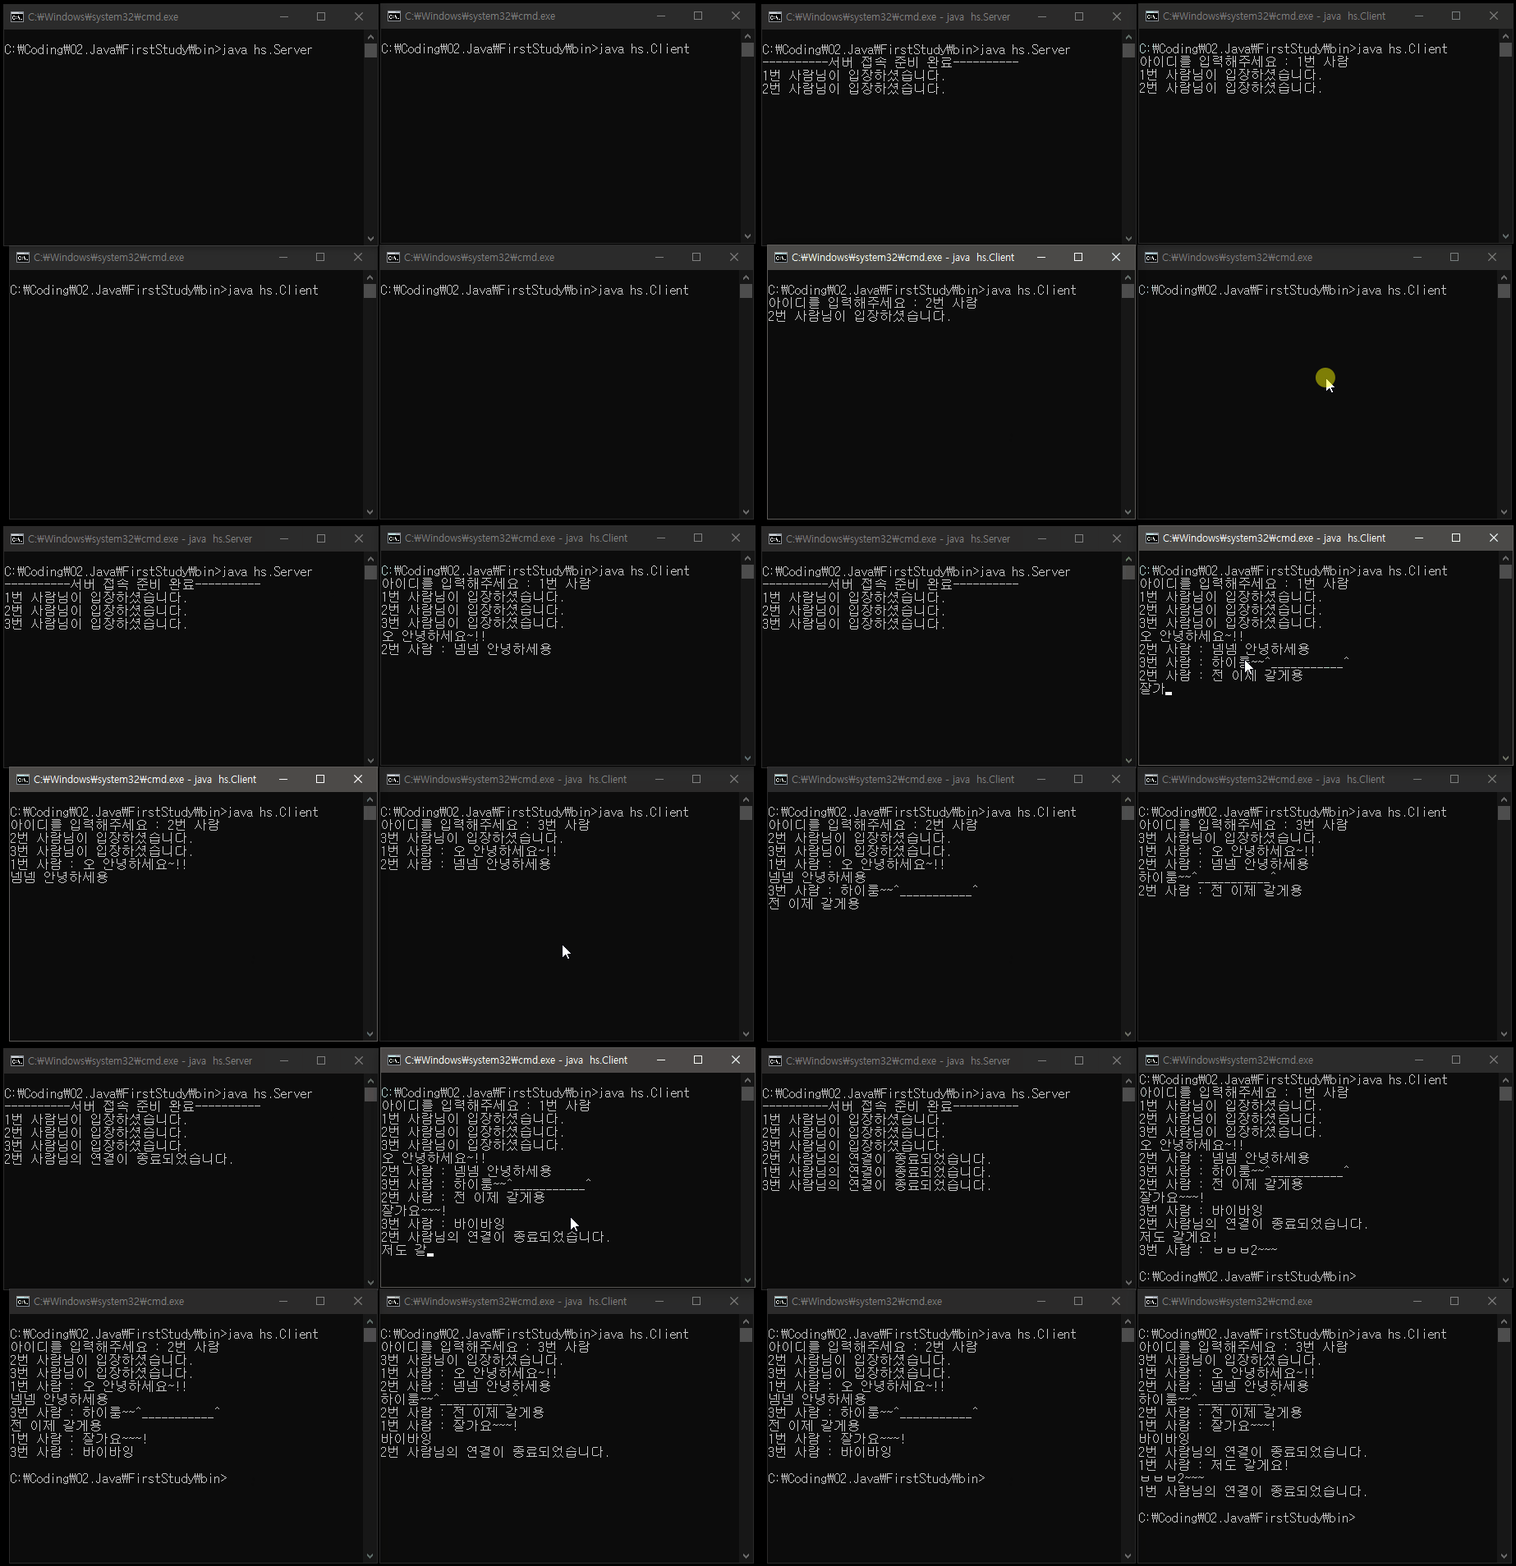
이전글에서 논블로킹 채팅 서버 및 클라이언트를 간단하게 만들어봤습니다. 글이 너무 길어져서 따로 코드만 첨부합니다. 코드 설명은 아래 링크를 참조하시면 됩니다.
2020/02/04 - [JAVA/기본 문법] - 네트워크_소켓(Socket) 통신_NIO 입출력(논블로킹) [2/3]
로직을 쉽게 보기 위해 객체화를 최대한 지양했습니다.

[ 스레드를 사용하지 않는 논블로킹(non-blocking) 서버 코드 ]
package hs;

import java.io.IOException;
import java.net.InetSocketAddress;
import java.nio.ByteBuffer;
import java.nio.channels.Channels;
import java.nio.channels.SelectionKey;
import java.nio.channels.Selector;
import java.nio.channels.ServerSocketChannel;
import java.nio.channels.SocketChannel;
import java.nio.channels.WritableByteChannel;
import java.util.HashSet;
import java.util.Iterator;
import java.util.Set;

public class Server {

	public static void main(String[] args) {

		// 연결된 클라이언트를 관리할 컬렉션
		Set<SocketChannel> allClient = new HashSet<>();

		try (ServerSocketChannel serverSocket = ServerSocketChannel.open()) {

			// 서비스 포트 설정 및 논블로킹 모드로 설정
			serverSocket.bind(new InetSocketAddress(15000));
			serverSocket.configureBlocking(false);

			// 채널 관리자(Selector) 생성 및 채널 등록
			Selector selector = Selector.open();
			serverSocket.register(selector, SelectionKey.OP_ACCEPT);

			System.out.println("----------서버 접속 준비 완료----------");
			// 버퍼의 모니터 출력을 위한 출력 채널 생성

			// 입출력 시 사용할 바이트버퍼 생성
			ByteBuffer inputBuf = ByteBuffer.allocate(1024);
			ByteBuffer outputBuf = ByteBuffer.allocate(1024);

			// 클라이언트 접속 시작
			while (true) {

				selector.select(); // 이벤트 발생할 때까지 스레드 블로킹

				// 발생한 이벤트를 모두 Iterator에 담아줌
				Iterator<SelectionKey> iterator = selector.selectedKeys().iterator();

				// 발생한 이벤트들을 담은 Iterator의 이벤트를 하나씩 순서대로 처리함
				while (iterator.hasNext()) {

					// 현재 순서의 처리할 이벤트를 임시 저장하고 Iterator에서 지워줌
					SelectionKey key = iterator.next();
					iterator.remove();

					// 연결 요청중인 클라이언트를 처리할 조건문 작성
					if (key.isAcceptable()) {

						// 연결 요청중인 이벤트이므로 해당 요청에 대한 소켓 채널을 생성해줌
						ServerSocketChannel server = (ServerSocketChannel) key.channel();
						SocketChannel clientSocket = server.accept();

						// Selector의 관리를 받기 위해서 논블로킹 채널로 바꿔줌
						clientSocket.configureBlocking(false);

						// 연결된 클라이언트를 컬렉션에 추가
						allClient.add(clientSocket);

						// 아이디를 입력받기 위한 출력을 해당 채널에 해줌
						clientSocket.write(ByteBuffer.wrap("아이디를 입력해주세요 : ".getBytes()));

						// 아이디를 입력받을 차례이므로 읽기모드로 셀렉터에 등록해줌
						clientSocket.register(selector, SelectionKey.OP_READ, new ClientInfo());


					// 읽기 이벤트(클라이언트 -> 서버)가 발생한 경우
					} else if (key.isReadable()) {

						// 현재 채널 정보를 가져옴 (attach된 사용자 정보도 가져옴)
						SocketChannel readSocket = (SocketChannel) key.channel();
						ClientInfo info = (ClientInfo) key.attachment();

						// 채널에서 데이터를 읽어옴
						try {
							readSocket.read(inputBuf);

							// 만약 클라이언트가 연결을 끊었다면 예외가 발생하므로 처리
						} catch (Exception e) {
							key.cancel(); // 현재 SelectionKey를 셀렉터 관리대상에서 삭제
							allClient.remove(readSocket); // Set에서도 삭제

							// 서버에 종료 메세지 출력
							String end = info.getID() + "님의 연결이 종료되었습니다.\n";
							System.out.print(end);

							// 자신을 제외한 클라이언트에게 종료 메세지 출력
							outputBuf.put(end.getBytes());
							for(SocketChannel s : allClient) {
								if(!readSocket.equals(s)) {
									outputBuf.flip();
									s.write(outputBuf);
								}
							}
							outputBuf.clear();
							continue;
						}


						// 현재 아이디가 없을 경우 아이디 등록
						if (info.isID()) {
							// 현재 inputBuf의 내용 중 개행문자를 제외하고 가져와서 ID로 넣어줌
							inputBuf.limit(inputBuf.position() - 2);
							inputBuf.position(0);
							byte[] b = new byte[inputBuf.limit()];
							inputBuf.get(b);
							info.setID(new String(b));

							// 서버에 출력
							String enter = info.getID() + "님이 입장하셨습니다.\n";
							System.out.print(enter);

							outputBuf.put(enter.getBytes());

							// 모든 클라이언트에게 메세지 출력
							for(SocketChannel s : allClient) {

								outputBuf.flip();
								s.write(outputBuf);
							}

							inputBuf.clear();
							outputBuf.clear();
							continue;
						}

						// 읽어온 데이터와 아이디 정보를 결합해 출력한 버퍼 생성
						inputBuf.flip();
						outputBuf.put((info.getID() + " : ").getBytes());
						outputBuf.put(inputBuf);
						outputBuf.flip();

						for(SocketChannel s : allClient) {
							if (!readSocket.equals(s)) {

								s.write(outputBuf);
								outputBuf.flip();
							}
						}

						inputBuf.clear();
						outputBuf.clear();
					}
				}
			}

		} catch (

		IOException e) {

			e.printStackTrace();
		}
	}
}

// 접속한 사용자의 ID를 가진 클래스
class ClientInfo {

	// 아직 아이디 입력이 안된 경우 true
	private boolean idCheck = true;
	private String id;

	// ID가 들어있는지 확인
	boolean isID() {

		return idCheck;
	}

	// ID를 입력받으면 false로 변경
	private void setCheck() {

		idCheck = false;
	}

	// ID 정보 반환
	String getID() {

		return id;
	}

	// ID 입력
	void setID(String id) {
		this.id = id;
		setCheck();
	}
}
[ 두 개의 스레드를 사용하는 채팅 클라이언트 코드 ]
package hs;

import java.io.IOException;
import java.net.InetSocketAddress;
import java.nio.ByteBuffer;
import java.nio.channels.Channels;
import java.nio.channels.ReadableByteChannel;
import java.nio.channels.SocketChannel;
import java.nio.channels.WritableByteChannel;

public class Client {

	public static void main(String[] args) {

		Thread systemIn;
		// 서버 IP와 포트로 연결되는 소켓채널 생성
		try (SocketChannel socket = SocketChannel.open
				(new InetSocketAddress("172.30.1.29", 15000))) {

			// 모니터 출력에 출력할 채널 생성
			WritableByteChannel out = Channels.newChannel(System.out);

			// 버퍼 생성
			ByteBuffer buf = ByteBuffer.allocate(1024);

			// 출력을 담당할 스레드 생성 및 실행
			systemIn = new Thread(new SystemIn(socket));
			systemIn.start();

			while (true) {

				socket.read(buf); // 읽어서 버퍼에 넣고
				buf.flip();
				out.write(buf); // 모니터에 출력
				buf.clear();
			}

		} catch (IOException e) {

			System.out.println("서버와 연결이 종료되었습니다.");
		}
	}
}

// 입력을 담당하는 클래스
class SystemIn implements Runnable {

	SocketChannel socket;


	// 연결된 소켓 채널과 모니터 출력용 채널을 생성자로 받음
	SystemIn(SocketChannel socket) {
		this.socket = socket;
	}

	@Override
	public void run() {

		// 키보드 입력받을 채널과 저장할 버퍼 생성
		ReadableByteChannel in = Channels.newChannel(System.in);
		ByteBuffer buf = ByteBuffer.allocate(1024);

		try {
			while (true) {
				in.read(buf); // 읽어올때까지 블로킹되어 대기상태
				buf.flip();
				socket.write(buf); // 입력한 내용을 서버로 출력
				buf.clear();
			}

		} catch (IOException e) {
			System.out.println("채팅 불가.");
		}
	}
}
728x90
'▸JAVA > 기본 문법' 카테고리의 다른 글
| 메소드 내 예외처리(try-catch-finally)에서의 리턴 처리 (0) | 2020.02.23 |
|---|---|
| 콜백(Callback) 패턴을 사용한 비동기 방식의 원리와 사용법 (8) | 2020.02.07 |
| 네트워크_소켓(Socket) 통신_NIO 입출력(논블로킹) [2/3] (4) | 2020.02.04 |
| 네트워크_소켓(Socket) 통신_IO 입출력 [1/3] (2) | 2020.02.04 |
| Thread (스레드)_스레드풀 [3/3] (2) | 2020.02.01 |


댓글